Hops grow really well in Santa Fe if they’re treated correctly.
There are a few key things to keep in mind when growing your own hops:
Pick a sunny spot
Hops love the sun. Whether you’re growing your hops in a planter or in the ground, make sure they will get a full day’s worth of sun.
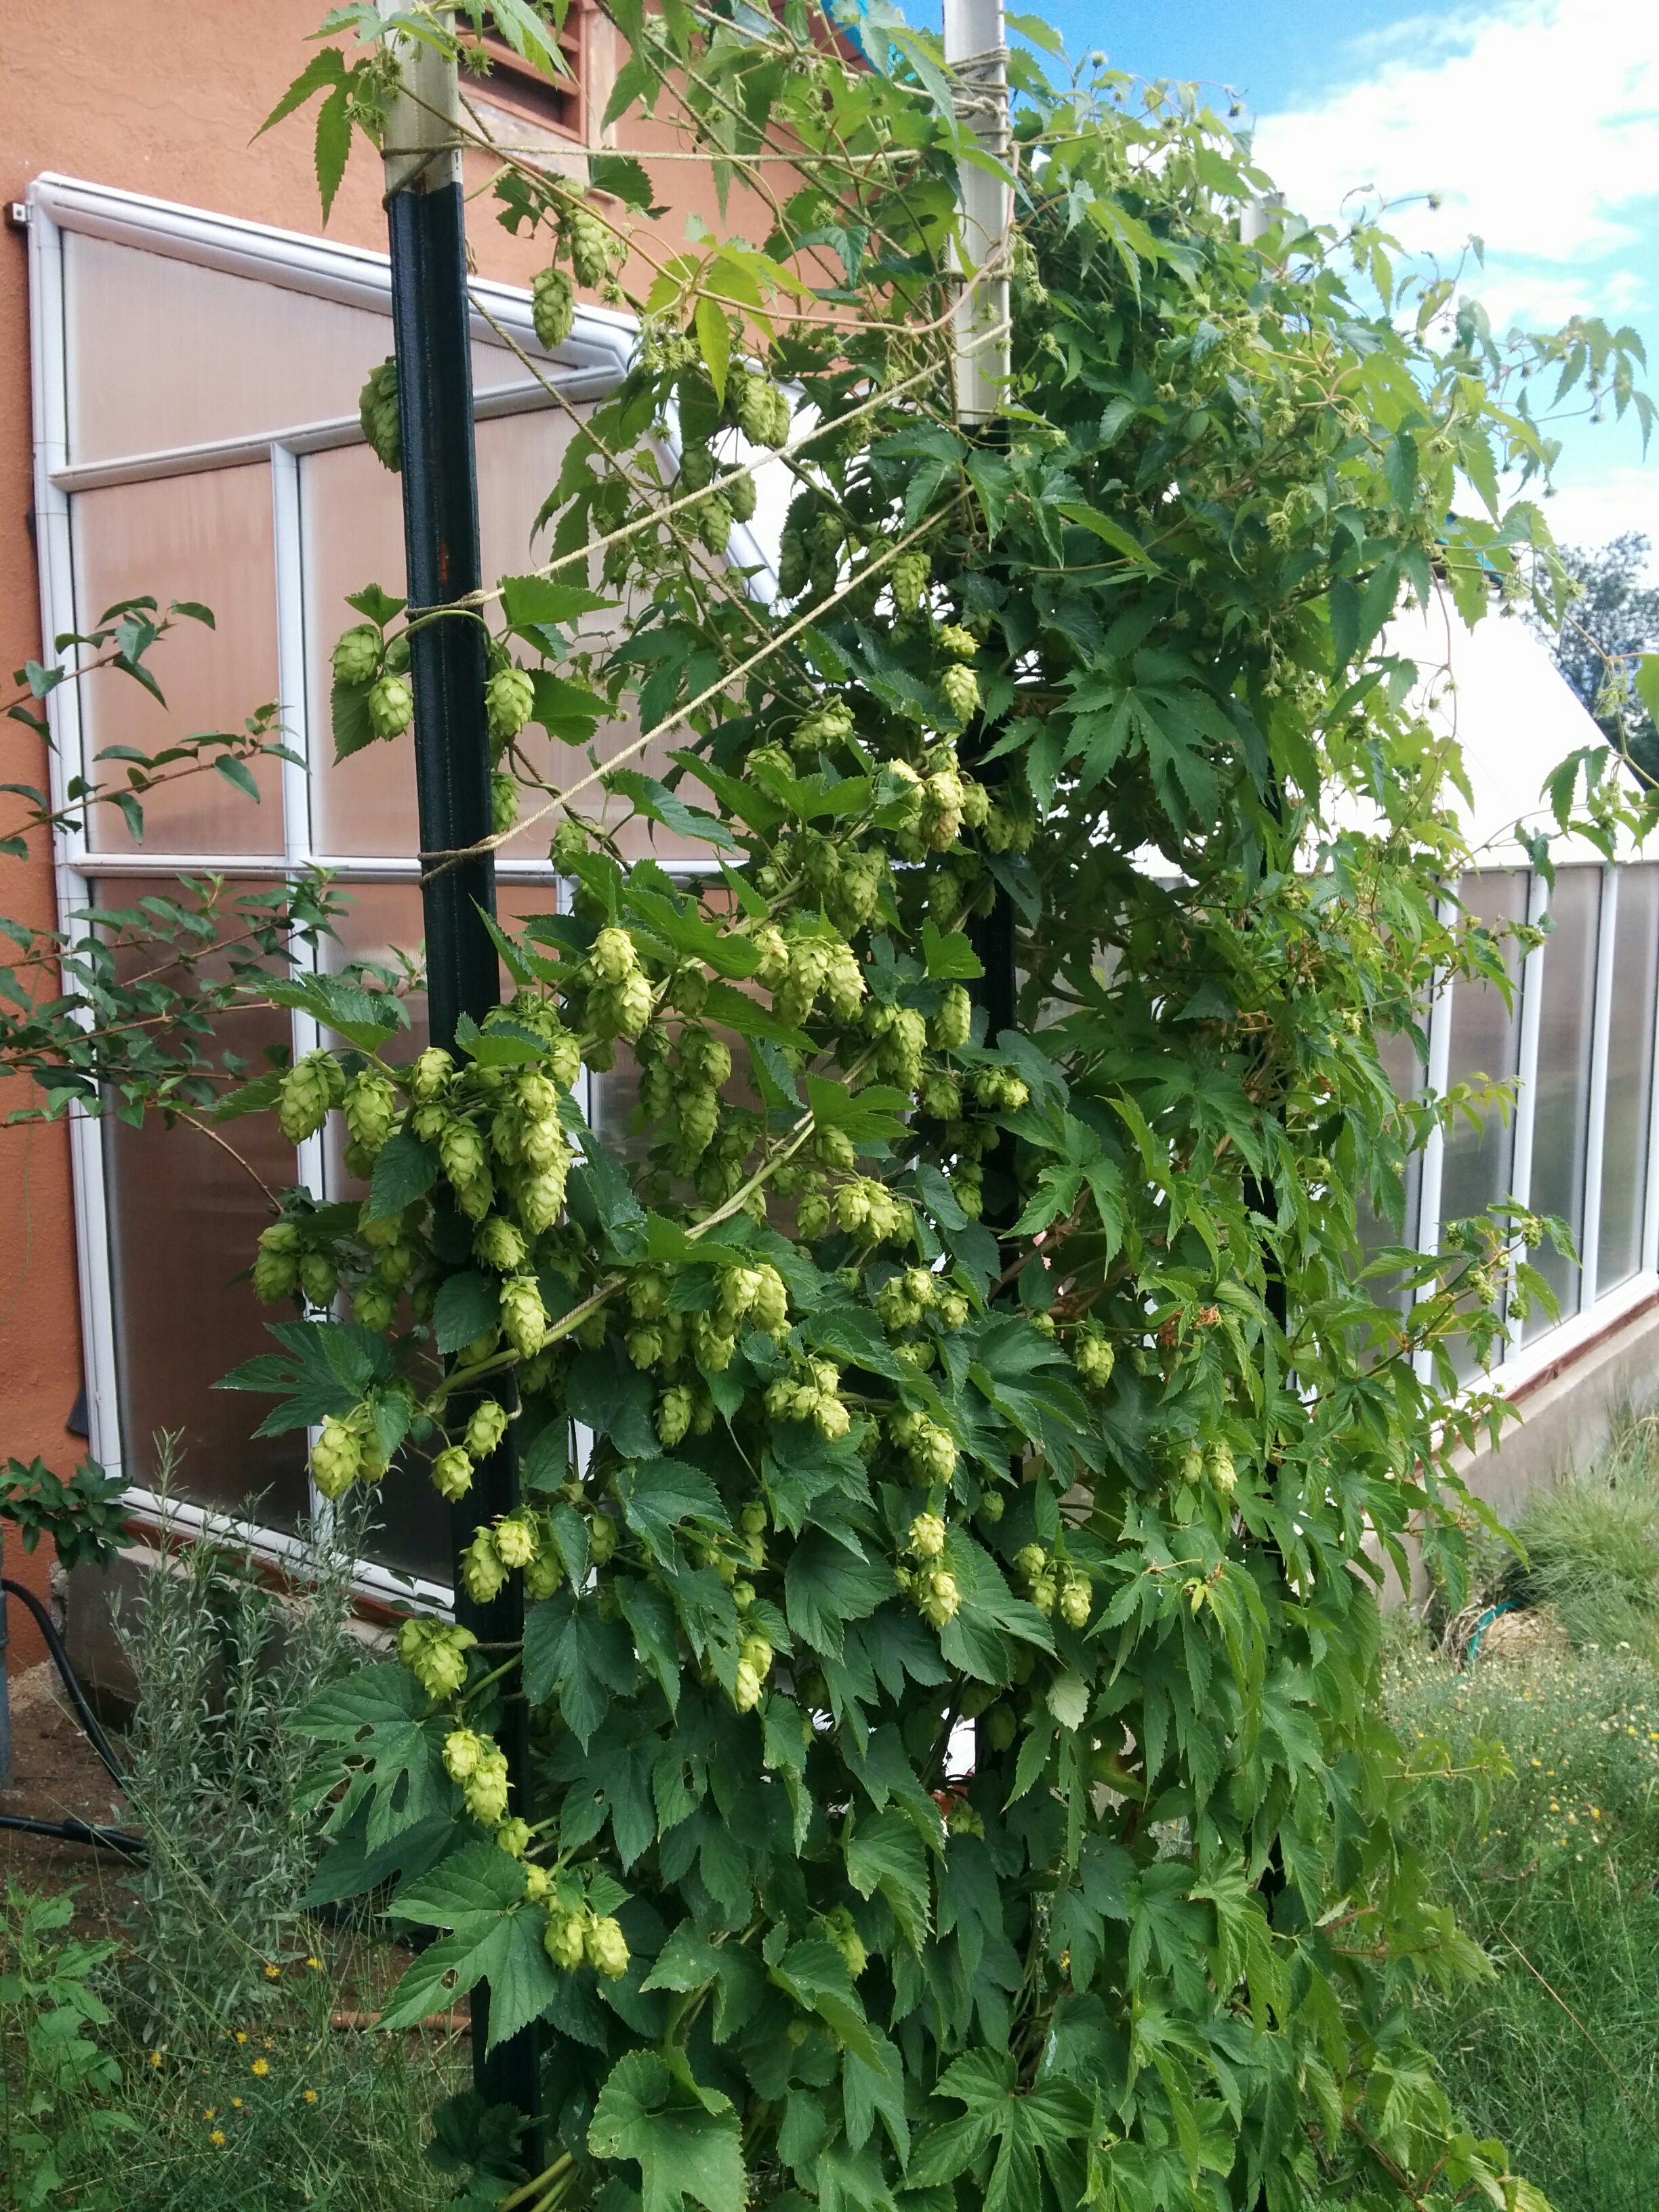
Give ’em some height
Hops need a lot of vertical room to grow. The bines can grow up to 20′ in height in a season. There are many different methods for building trellises or using guide ropes to give your hops something to climb.
Water every day
Hops are very thirsty and you need to make sure they stay well watered in Santa Fe since we don’t see much natural precipitation. Setting your hops up on a drip system is ideal.
Step 1: Planting your hops
Rather than starting hops by seeds, you plant something called a rhizome. Rhizomes look like a tangle of roots but are actually an underground stem system that carries the genetic make-up of the hop. If you dig up a rhizome from a Cascade hop and transplant that to your yard, you’ll have an exact genetic match to the plant you originally gathered it from.
Hop rhizomes usually become available in the early spring from local and online homebrew shops. If you know anyone who is already growing hops, you can ask them for some rhizomes as well.
Hops are notoriously aggressive and will send their root system and rhizomes deep and wide. Be sure to plant your hops in an area where you aren’t trying to grow anything else or else they might get choked out by the hops. 15 gallon planter buckets are a good size if you want to do it that way.
If you want to plant multiple varieties of hops, be sure to either use separate planters or put them in the ground at least 10′ apart from each other. If you plant them too close together, the root systems will get intertwined and it will be hard to keep track of which hop is growing where.
Be sure to select a spot in your yard that gets full sun all day. Hops don’t do well in the shade and will thrive much better if they get unobstructed views of the sun throughout the day.
Finally, be sure to put plenty of nutrients in the soil. Manure or compost are great additions to put around the rhizomes when you plant them.
Step 2: Trimming the bull shoots
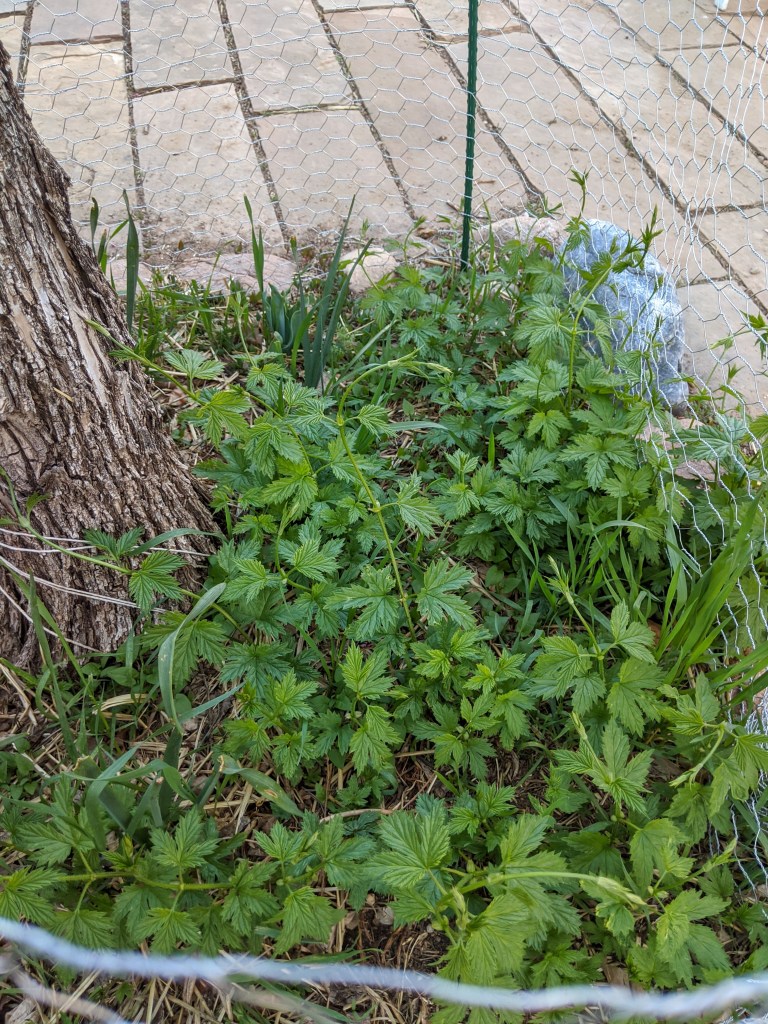
Starting at the end of March or early April you’ll start to see purple nubs poking through the soil where your rhizomes were planted. These will eventually turn into the hop bines. They’re extremely fast growing and you’ll see a big explosion of growth very quickly.

The first bines to appear are called bull shoots. They’re much thicker and faster growing than the ones that come later. You can certainly train these up your trellis, but they don’t produce as many hops as the shoots that appear later.
The best practice is to cut these off just above the soil level after they’ve reached about a foot high. This will let the plant focus energy on producing more shoots that you can start to train.
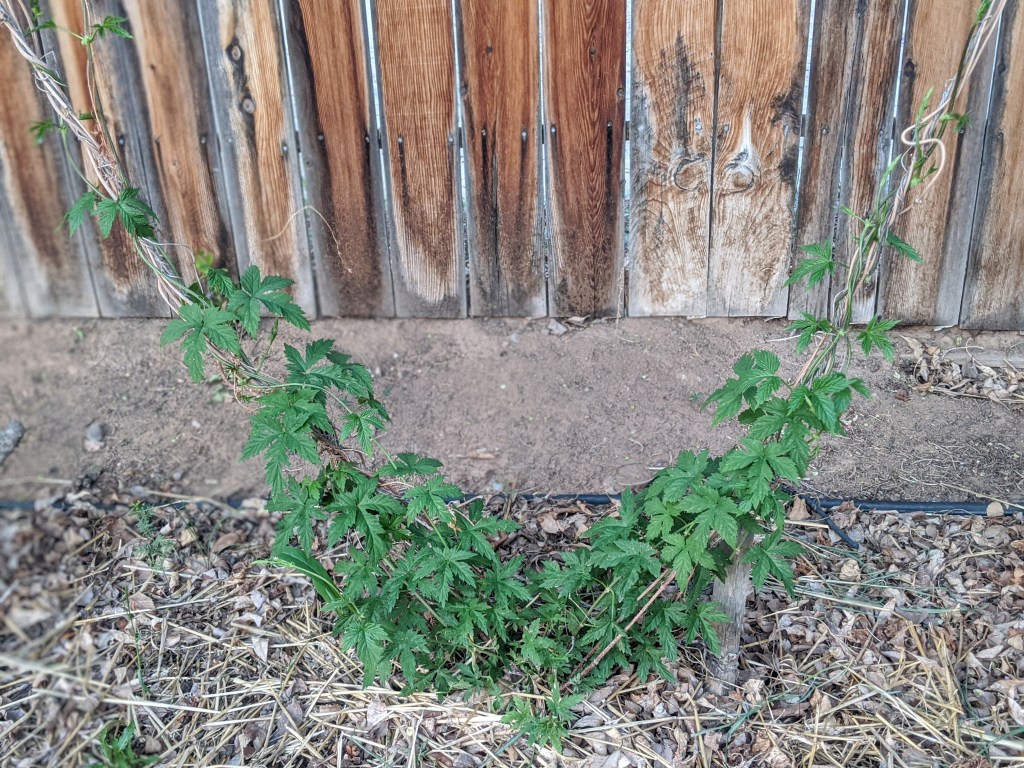
3. Start training your bines
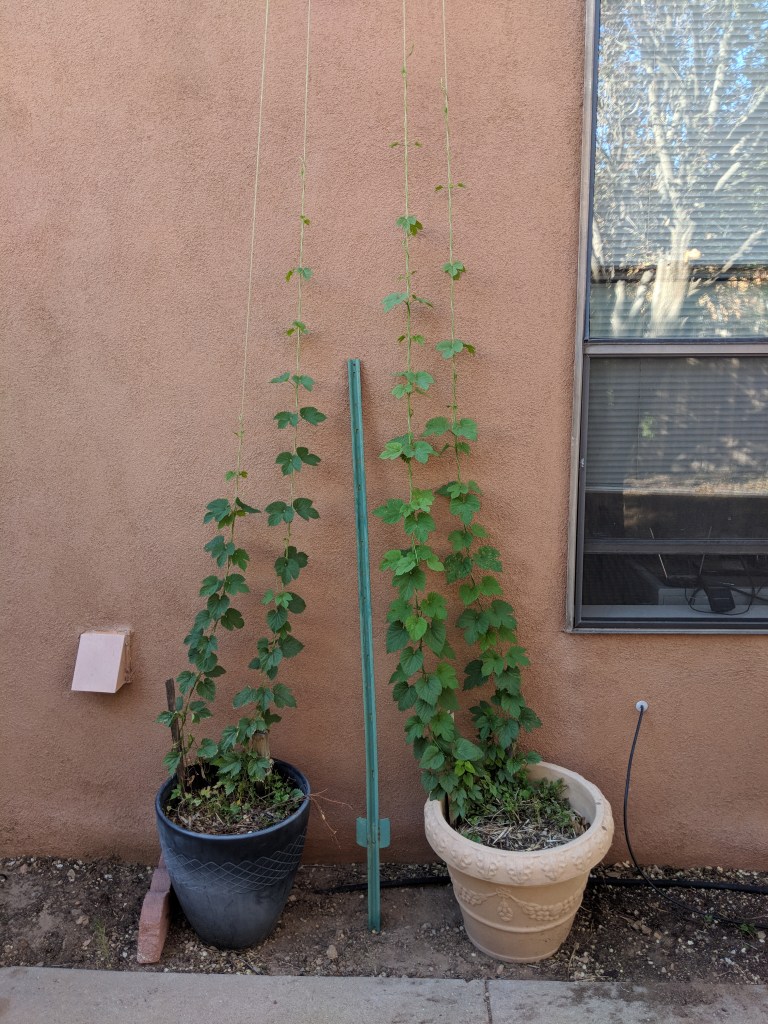
After you cut your bull shoots down and the new bines have started exploding, it’s time to pick a select few to start training up your trellis. Depending on which literature you read, you should train 1-3 bines per rope.
To train your bines, simply wrap them in a clockwise direction around some rope or garden twine (something that isn’t smooth since the bines need to grip onto the rope).
Once you’ve selected the bines you’re going to keep, cut the rest back to the ground and be sure to snip any new bines down over the next few weeks. You want all of the energy from the root system to be put into the bines you selected, not toward growth that won’t produce you any hops.
4. Give your hops lots of sun and water
Once your bines are a few feet long, you’ll start to notice some major growth spurts. Keep an eye on your trellis and watch for any bines that lost their way from the rope and simply wrap them around it again. Your hops need something to climb up or else they’ll stop growing and your yield will suffer.
Hops are extremely thirsty. Either water them by hand daily or set them up on a drip system. The hops will also require a lot of natural light. Make sure to trim back any branches or bushes that might be blocking your hops from getting full sun.
5. Trim the lower leaves off your trained bines
Once your bines have made it about 4-5′ high, you should trim off the leaves from the ground up to 1′ in height. These leaves are inviting for insects which might work their way up and start destroying your leaves.
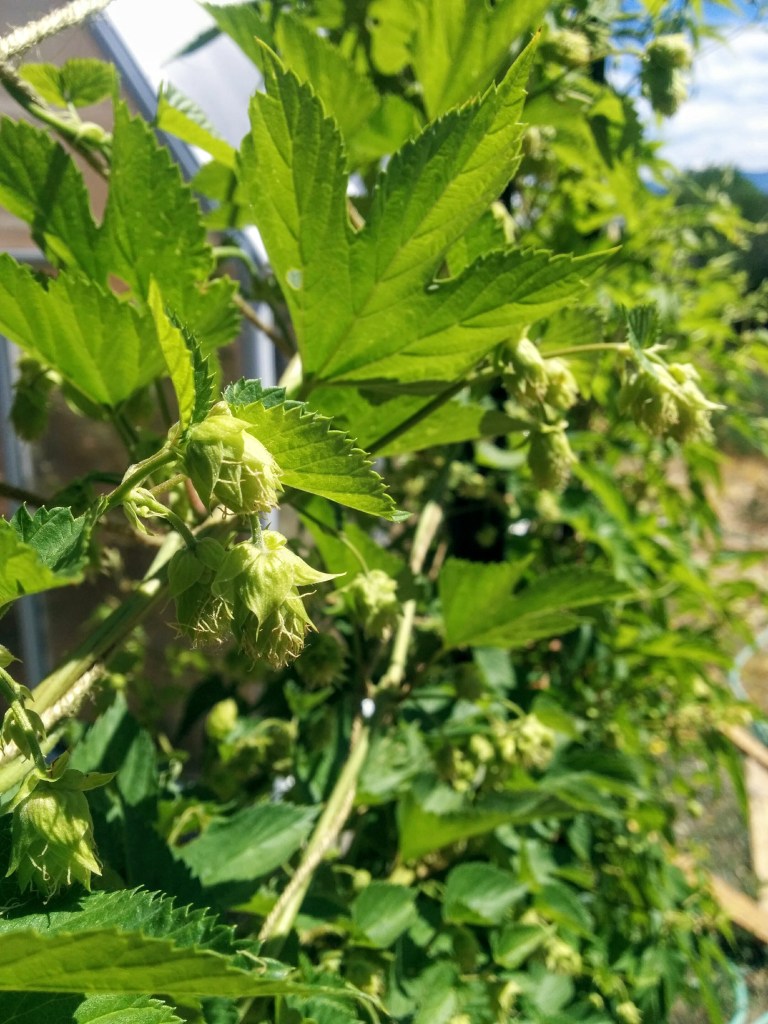
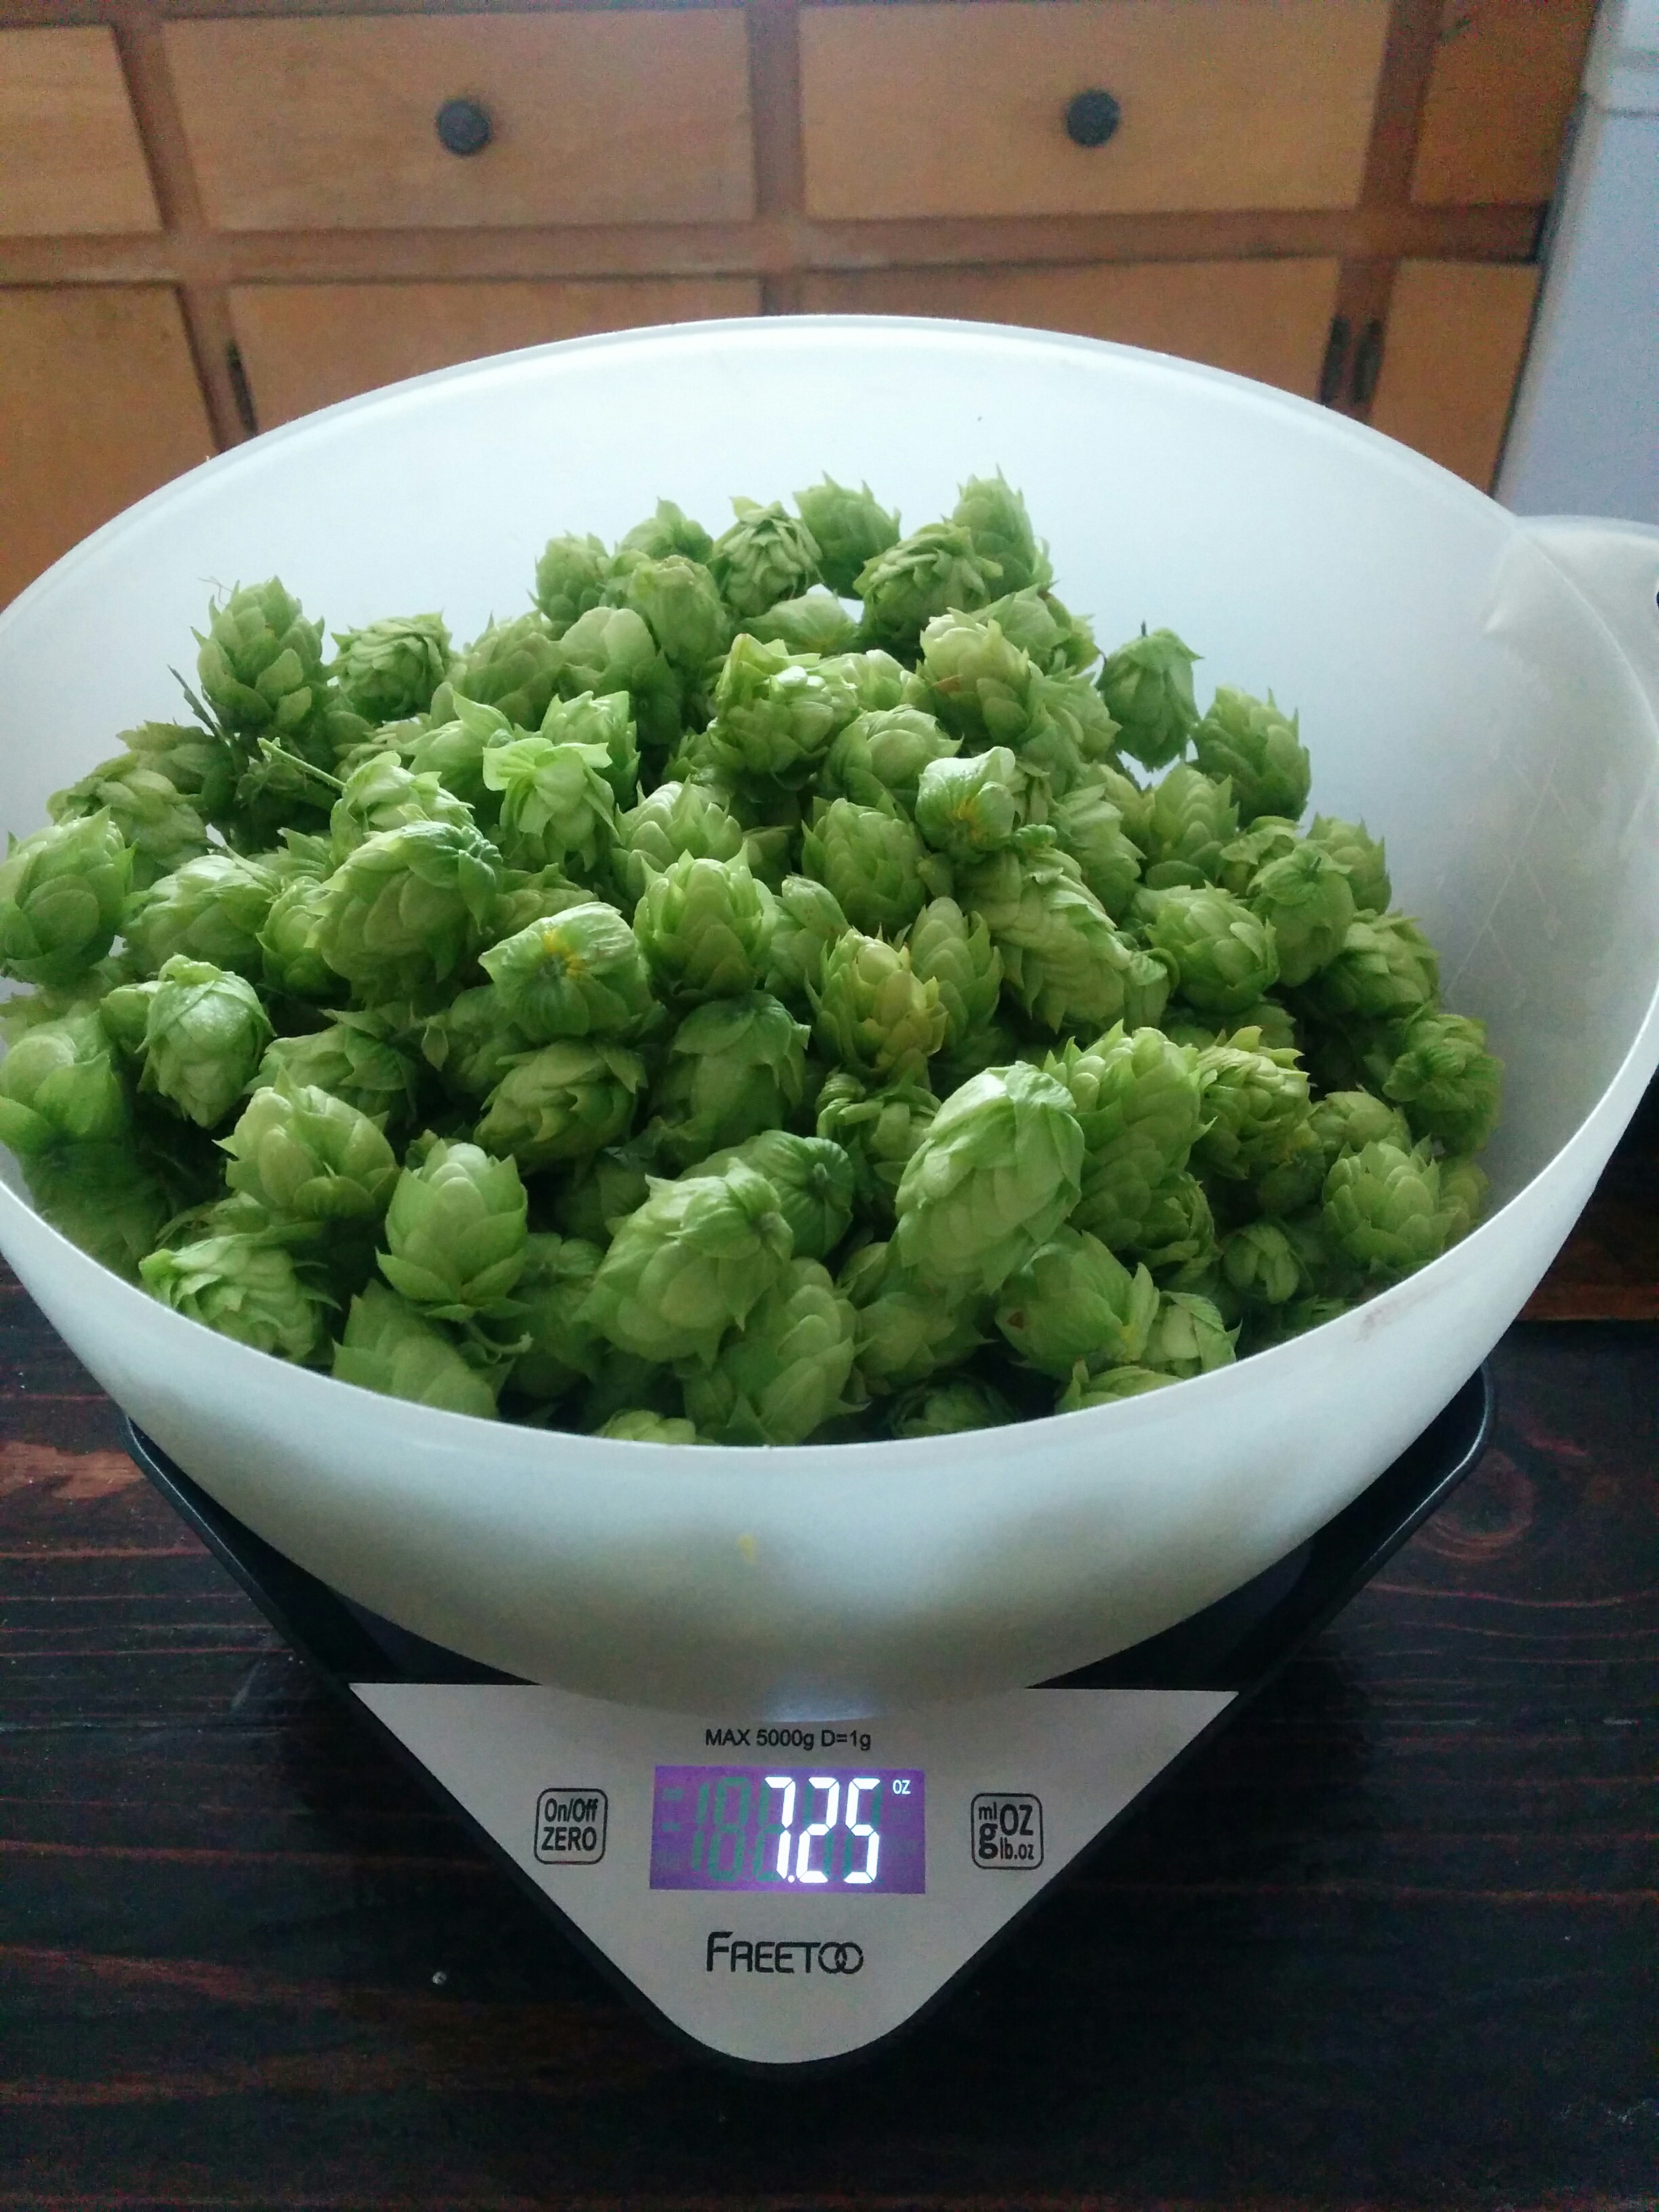
6. Harvesting your hops
Aside from watering your hops daily, there isn’t much to do with them for the next few months. If you see any dying or yellow leaves, go ahead and clip them off.
When it comes time to harvest your hops (usually August – September depending on the weather and hop variety), simply pluck them off your trellis. At this point you can cut the bines down if it’s easier to harvest them.
You’ll know the hops are ready when they start to turn papery and slightly tan on the ends of the hop cones. If you break one of the hops open you should see a lot of yellow which is where the actual flavor and aroma compounds are found.
If you want to use your hops for a wet-hopped beer, simply use them right away!
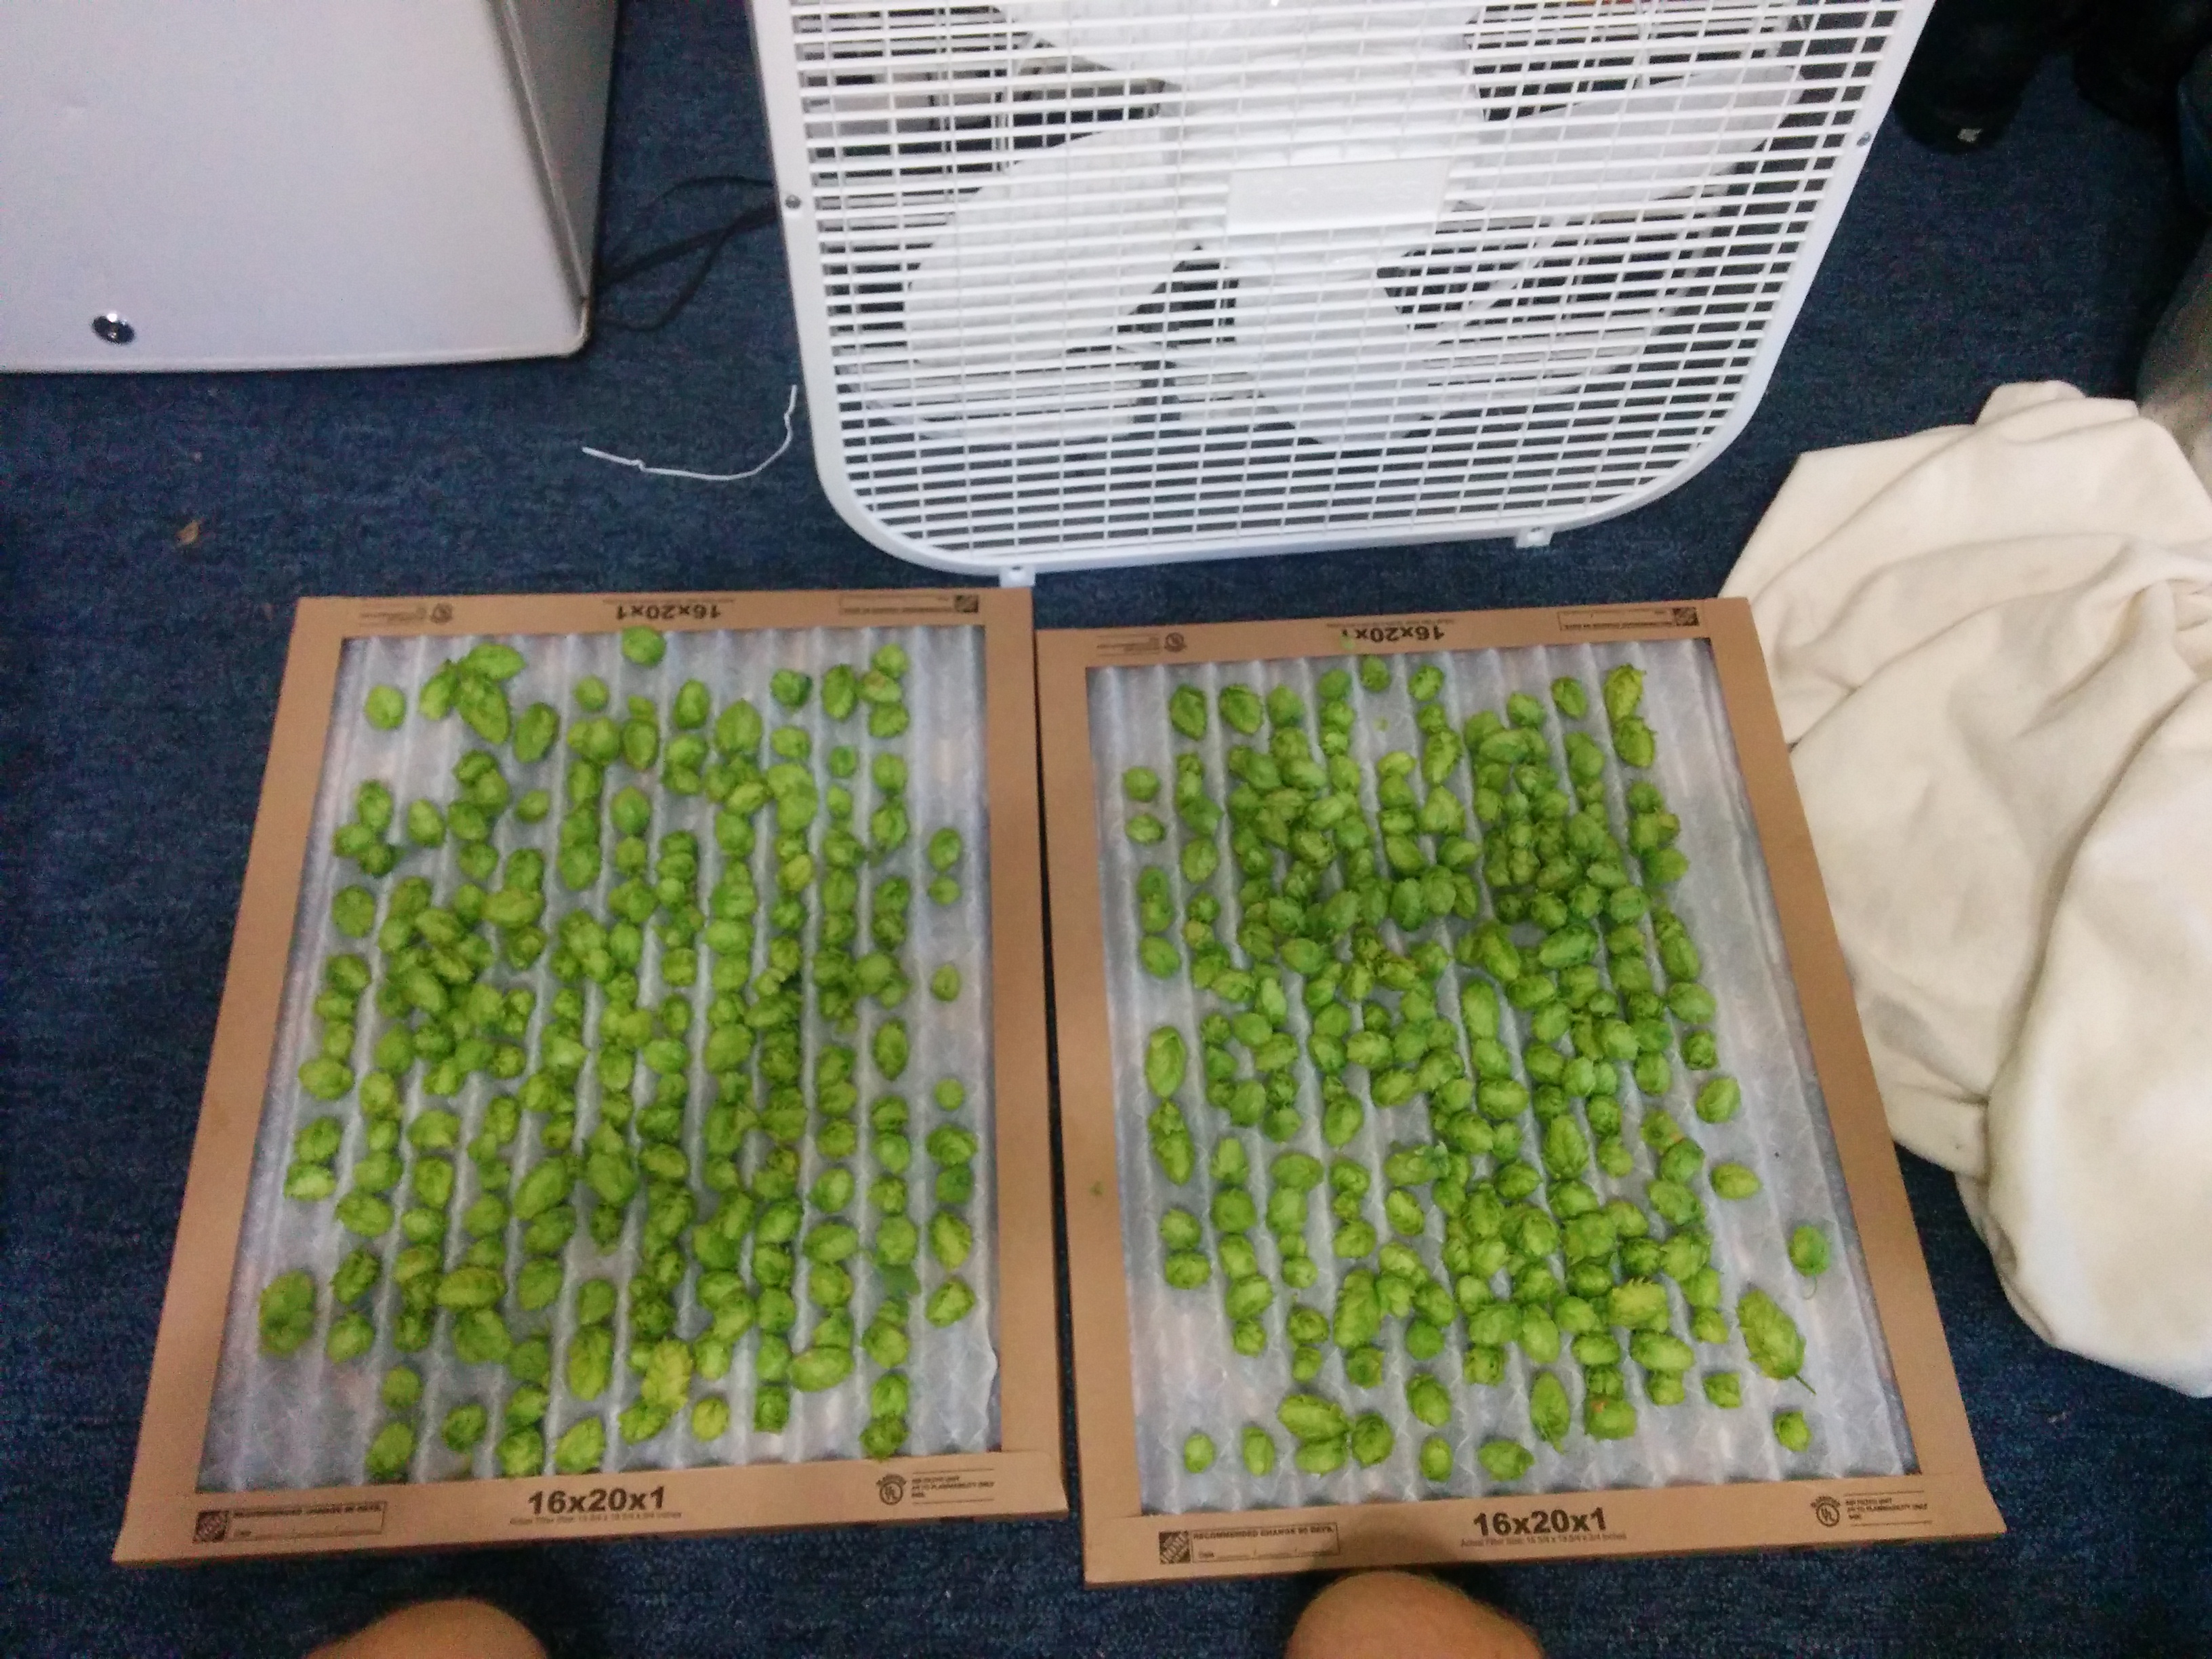
7. Drying your hops (optional)
If you don’t plan on using your hops immediately (which you should!), you can dry them out and then store them in an airtight container in the freezer.
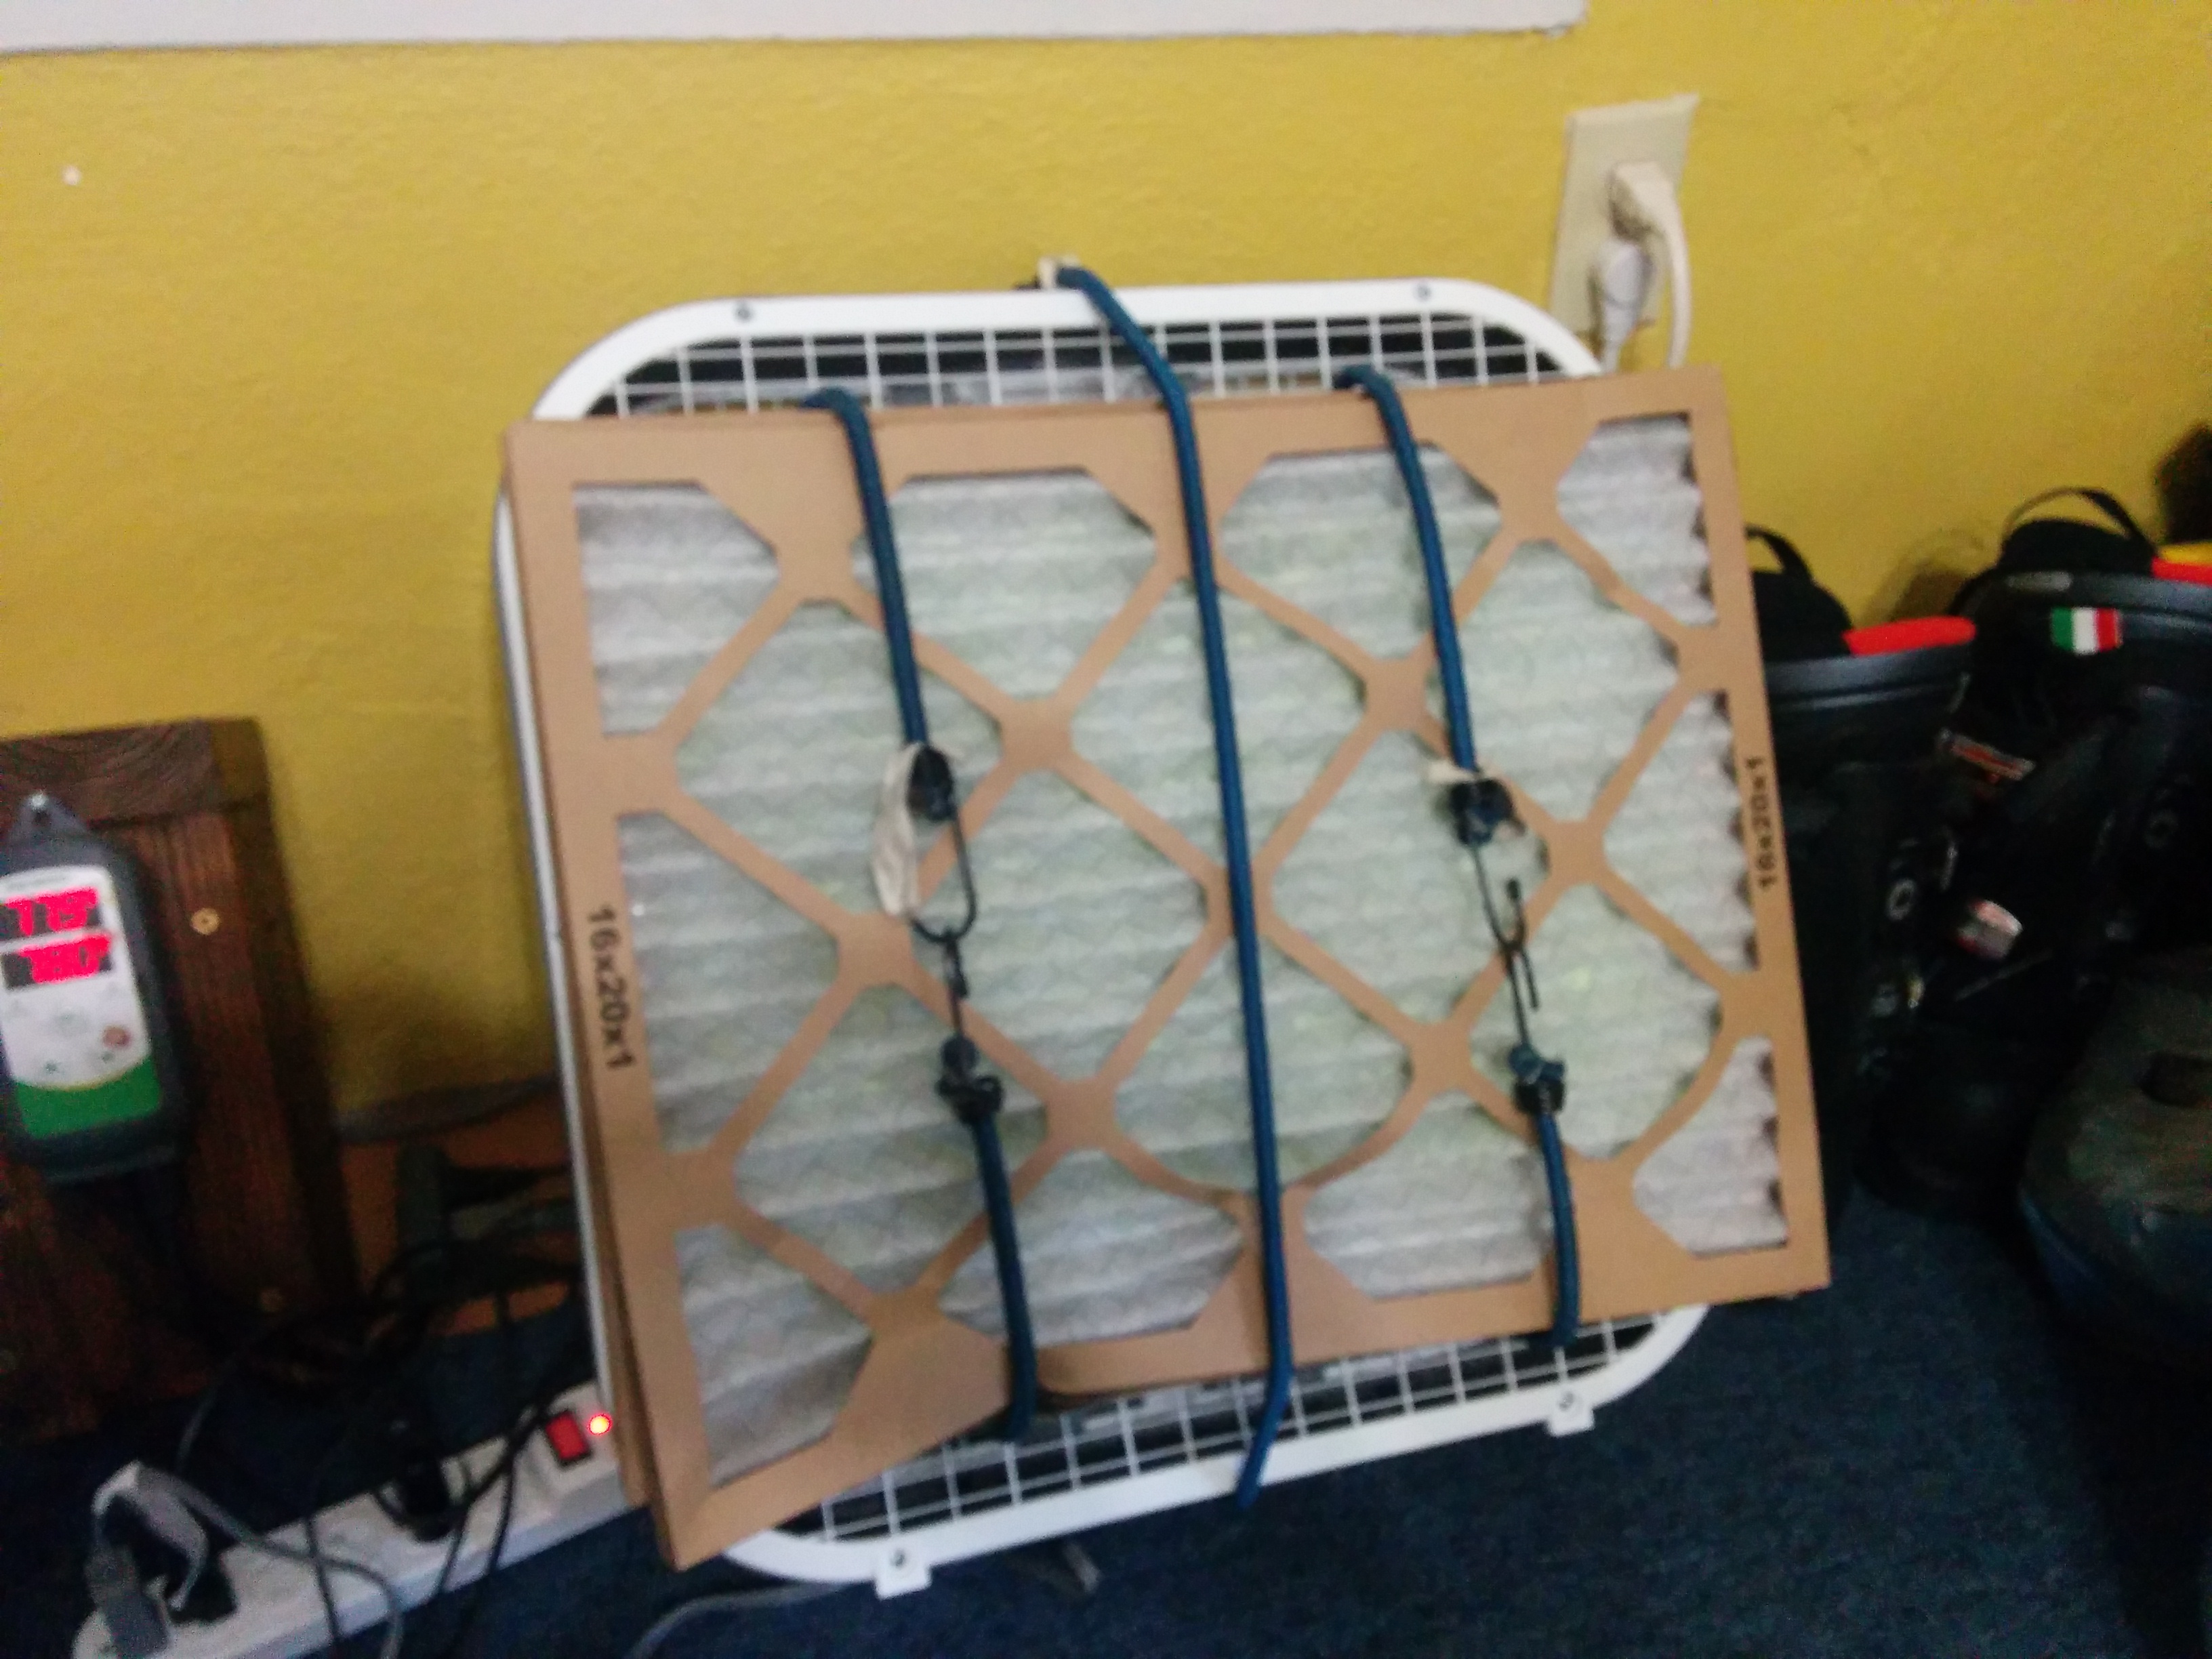
There are many ways to dry your hops but I like to use forced air filters to spread my hops out and then strap them to a box fan. The air filters have perfect grooves for holding the hops and they keep dust, insects and other debris from getting in your hops during the drying process.
I run the box fan for about 18 hours before checking their progress. The hops will lose about 40-60% of their weight in the drying process.
Once your hops have dried out, I would recommend weighing out 2oz at a time and using a vacuum sealer to remove all oxygen. Write the hop variety, weight and date on the bag and store it in your freezer.
You should try to use those hops within a few months or else they could turn rancid (even after drying and vacuum sealing).
What’s the AA of my home grown hops?
There are way too many variables at play to try and reliably determine the acids in your hops. When it comes time to build a recipe that showcases your hops, you should bitter with a known hop and use your hops at the end of your boil or for whirlpooling.
You have a couple options for using known hops for bittering. Option one is to use a very neutral hop like Magnum and then rely on your home grown hops for flavor and aroma. The second option is to use a commercial version of the same hop you grew. This way you’ll know the AA of the hops and can build your recipe around that.
If you have money to burn, you can always send your hops to a testing company such as Phoslab and they’ll send you a full report detailing everything you’ve ever wanted to know about the makeup of your hops.
If you’ve got some chemistry background or mad scientist tendencies, you can look up hop titration which can give you a rough idea of your hop acids.
What kind of harvest can I expect?
There are way too many variables to reliably predict your harvest at the end of a season. The general rule is to not expect much yield the first year, with larger and larger harvests in subsequent years.
How happy your plants are will be a big determining factor in your harvest each year. Making sure to water and give them plenty of nutrients with lots of natural sun light are the biggest factors that play into your harvest.
The height your hop bines are able to grow will play a big role in your yield. Once the hop bines can no longer climb, they’ll stop growing and stall out. If you can plan for your hops to grow up to 18′ in length, you’ll be in really good shape.
What are some good trellis ideas?
As mentioned above, letting your hop bines grow to their full height will result in a much better yield than if they’re stunted by not being able to climb anymore.
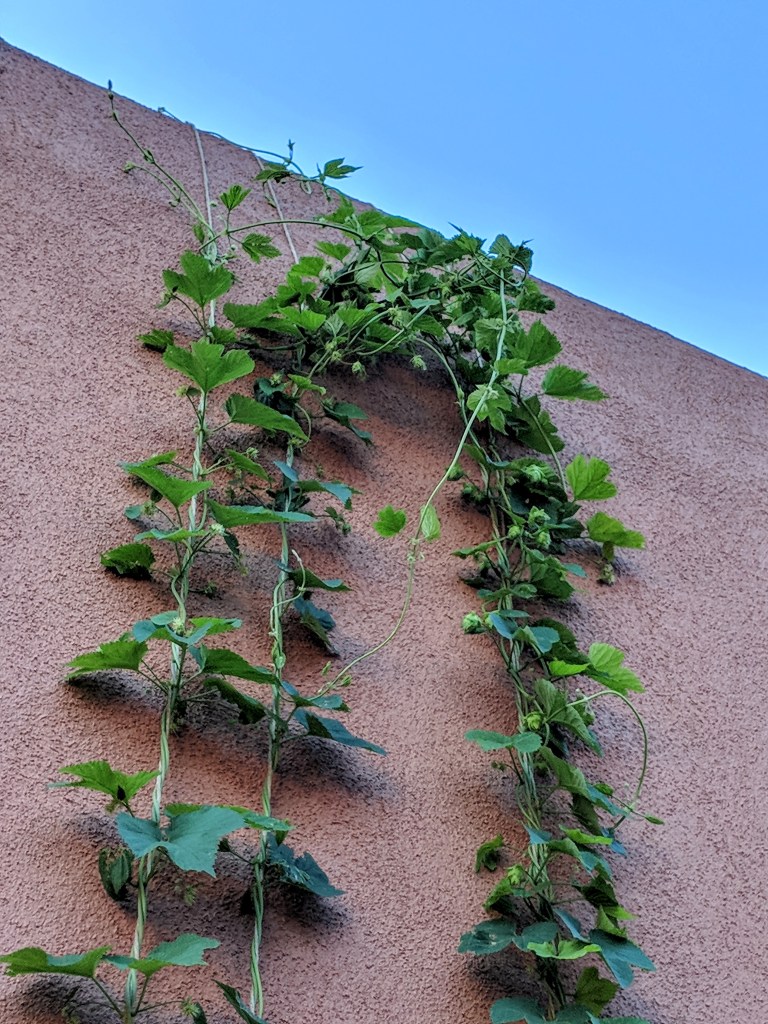
If you have access to your roof, running twine down to your garden or planters is an easy way to get some good height. Simply tie the garden twine to a weighted object and keep that on your roof. Run the twine down and attach it to your planters or a stake next to your hops.
Another method that I’ve had good success with is using some long fence posts with garden twine running back and forth between them. With 6′ poles I was able to get the equivalent of 17′ of height due to all the back and forth.

Sharing your hop rhizomes
If you want to share your rhizomes with someone else, you can gently dig around your hop plant in the early spring and cut off a 6″ piece of a thicker rhizome (it looks like a white / tan root). Doing this won’t hurt the hop plant since after a growing season, it will have grown a bunch of rhizomes.
You can keep a fresh rhizome in storage for a week or two by wrapping the rhizome in a moist paper towel and then putting it in a sealed zip-top bag in the refrigerator.
